October 2, 2026 · By The Listently Team
How to Transcribe UX Research Interviews for Synthesis
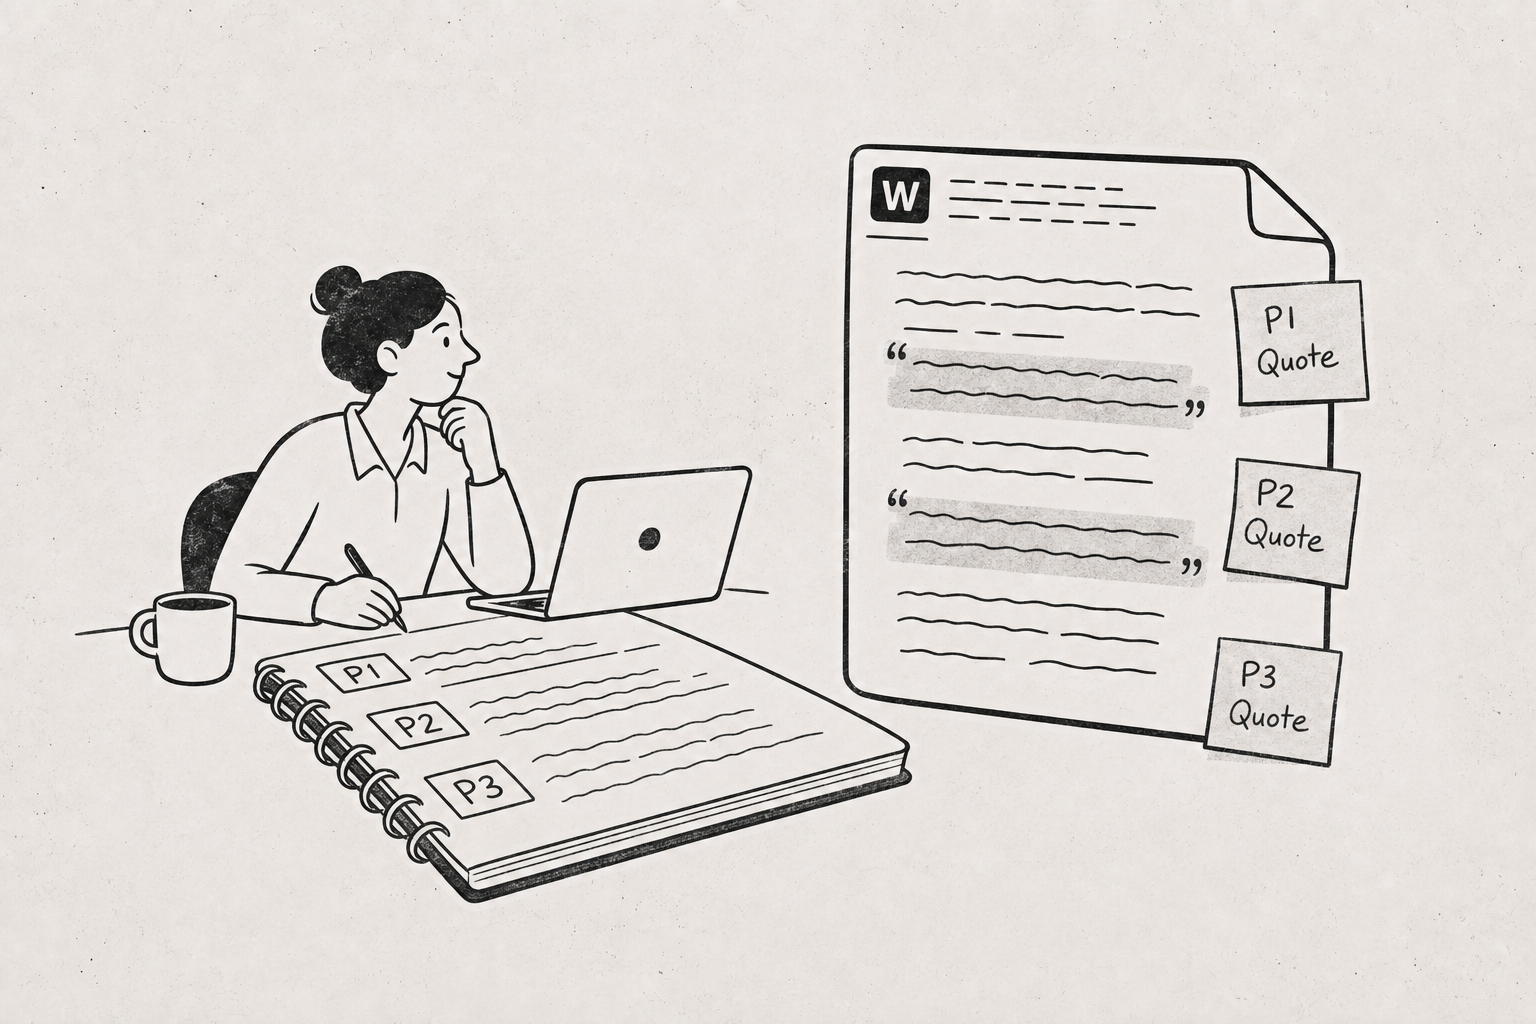
To transcribe UX research interviews for synthesis, record each session as a separate audio or video file, upload it to an AI transcription tool that labels speakers automatically, rename the generic speaker labels to your participant IDs (P1, P2, P3) or real names, then export to Word so quotes can be pulled into an affinity map or synthesis doc. The order matters: rename speakers before you export, because the labels get baked into the exported file and fixing them afterward means find-and-replace across every document. Before your first session, add your product names, feature names, and internal acronyms to a custom vocabulary list so the transcriber spells them consistently across all sessions — inconsistent spelling of a feature name is what breaks search and tag-counting later. Budget roughly a few minutes of processing per file rather than the 4–6 hours of manual typing a one-hour session traditionally takes. A tool like Listently handles the upload, speaker detection, renaming, and Word export in one pass, which is the whole loop most researchers need. The parts that still require your judgment are deciding what to quote and what the quotes mean.
Generic “Speaker 1” labels are the single biggest tax on research synthesis
An automatic transcript gives you Speaker 1 and Speaker 2. That’s fine for a meeting recap and useless for research. When you’re pulling 40 quotes across 8 sessions into an affinity board, every quote needs to carry its participant identity with it, or you lose the ability to say “three of five enterprise users hit this.”
The fix is to rename speakers inside the transcript before doing anything else. In Listently, speaker detection is automatic and you can rename each detected speaker to a real name or a participant ID, and the rename applies everywhere — including in the AI summary, not just the transcript body.
Rename the moderator to “Moderator” and the participant to your study’s ID scheme (P1, P2, P4-Enterprise) on the same day you run the session, while you still remember which voice was which. Two weeks later, listening back to identify speakers is its own task.
Participant IDs beat real names for most studies
If you’re sharing quotes with stakeholders, pseudonymous IDs reduce the consent and privacy surface area considerably. A quote attributed to “P3, SMB admin, 2 years tenure” carries all the context a stakeholder needs and none of the identifying detail. Use real names only when you have explicit permission and a reason — customer advisory boards, named case studies, internal interviews.
A 7-step workflow from session recording to synthesis doc
- Record each session as its own file. One file per participant. Don’t record a whole day of back-to-back sessions into a single track — splitting it later is manual work you can avoid.
- Set up custom vocabulary before the first session. Product names, competitor names, feature names, internal acronyms. On Listently that’s 15 saved terms on the Free plan and 50 on Pro, and saved terms apply automatically to future transcripts.
- Upload the recording. Common research formats work directly: MP3, WAV, M4A, FLAC, OGG for audio, and MP4, MOV, MKV for screen-recorded usability sessions.
- Rename the detected speakers to Moderator and your participant ID.
- Skim the transcript against the recording at 1.5x, fixing anything that matters — product terms, numbers, the exact phrasing of quotes you plan to use.
- Export to Word for synthesis, or copy quote blocks straight into your affinity tool.
- Repeat per session, then search across the library for recurring phrases once all sessions are in.
Steps 2 and 4 are the ones researchers skip, and they’re the two that determine whether step 7 actually works.
Custom vocabulary is why your transcripts stay searchable across a whole study
Say your product has a feature called “Flowstate.” Across eight sessions, an untrained transcriber might produce “flow state,” “Flowstate,” “flo state,” and “float state.” Now search the corpus for mentions and you get a fraction of the real count.
Saving the term once means every subsequent transcript spells it the same way. For a study with 10+ sessions, this is the difference between counting mentions in 30 seconds and re-reading everything. We’ve written a fuller walkthrough on setting up custom vocabulary if you want the specifics.
Add every term a participant might say out loud: your product, your three closest competitors, each feature name, and any acronym your team uses in the discussion guide.
Word export is the right format for affinity mapping and synthesis docs
Research synthesis tends to live in documents, not in the transcription tool. The export format you pick should match where the work happens:
| Export format | Best for |
|---|---|
| Word (.docx) | Synthesis docs, quote banks, highlighting and commenting in Google Docs or Word, pasting into research repositories |
| Sharing a read-only transcript with stakeholders or attaching to a study archive | |
| SRT / VTT | Captioning a usability highlight reel for a stakeholder readout |
Word is the default choice for synthesis because it stays editable. You can strip the moderator turns, bold the quotes you want, split the file into one section per theme, and paste quote blocks directly into FigJam, Miro, or Dovetail without fighting PDF line breaks.
If you’re building a highlight reel for a readout, SRT export from the same session saves you captioning the clips by hand — here’s the SRT process.
Transcribe in batches after a round of sessions, not one file at a time
Research rounds cluster. You run six sessions on Tuesday and Wednesday, then synthesize Thursday. Uploading six files one at a time is six separate waits.
Batch upload lets Pro accounts drop up to 10 audio files at once; Free accounts upload one file at a time. For a standard 5–8 participant round, that turns the upload step into a single action. We cover the mechanics in how to batch transcribe multiple files.
If your team stores session recordings in a shared Drive folder, Pro also supports importing from a Google Drive share link directly, so you skip the download-then-reupload roundtrip on 500MB screen recordings.
Use the AI summary for triage, not as your findings
An AI summary of a usability session is a fast way to decide which sessions to re-watch and which to skim. It is not synthesis. Findings come from reading across participants and noticing what repeats — a per-session summary structurally can’t do that.
Listently’s summary is generated from the transcript text, attributes points to specific speakers, and is instructed not to invent action items or conclusions that aren’t actually present. That makes it reliable as a triage layer. Treat the summary as a map of the session, and go to the transcript itself for anything you plan to quote or claim. More on where summaries break down: what teams get wrong about AI meeting summaries.
Highlighting inside the transcript keeps quote-pulling in one place
If you’d rather not export immediately, Pro accounts can select transcript text and mark it in one of five highlight colors and attach a private comment. The practical use for research: one color per research question, or one color per emerging theme, then a comment capturing your in-the-moment interpretation.
The filler-word toggle is also worth knowing about here. One click hides “um,” “uh,” and similar from the on-screen transcript and from exports without altering the underlying transcript, and you can turn it back off. For voice-of-customer quotes going into a deck, hiding fillers produces a readable quote without you manually cleaning it — and the original stays intact if you need the verbatim version for rigor.
Get consent on the recording, and check your local rules
Recording-consent rules vary by jurisdiction — some places require all parties to consent, others only one, and employer or client policies often add requirements on top. For research specifically, you usually also need consent covering how the recording and transcript will be used and stored, which is a separate question from whether you may record at all.
Say it on the recording at the start of the session: what you’re recording, who will see it, how long you’ll keep it. It takes fifteen seconds and it’s your documentation.
On the storage side, it’s worth knowing what your tool does with the file. Listently never uses audio or transcripts to train any AI model and never shares them with third parties, and uploaded audio is deleted immediately after processing. If you’re writing a data-handling section into a research plan, those are the questions to ask of whatever tool you pick — more detail here.
Common questions
Will the free plan cover a round of usability sessions? Partly. The Free plan allows 3 transcriptions per day with a 30-minute limit per file. Most usability sessions and customer interviews run 45–60 minutes, which exceeds that. Pro removes the file-length limit and is $8.99/mo billed annually or $13.99/mo billed monthly. There’s a fuller breakdown in Free vs Pro: when you’ll hit the wall.
Can I transcribe sessions run in other languages? Yes — over 100 languages are supported. For international studies, see how to transcribe audio in another language.
How do I find a quote again across 12 sessions? Library search matches transcript text content, not just titles or filenames. Search a phrase you remember and it surfaces the transcript containing it.
Does speaker detection work on screen-recorded usability sessions? Yes, as long as the file is a supported video format (MP4, MOV, MKV) and both voices are audible. Audio quality drives accuracy more than format does — see 9 ways to improve transcription accuracy before you record.
If you run interview-based research regularly, the setup cost is one-time: save your vocabulary terms, settle on a participant ID scheme, and the per-session workflow drops to upload, rename, export. Try Listently free on your next session recording.