September 4, 2026 · By The Listently Team
How to Create an SRT File From Video (Step-by-Step)
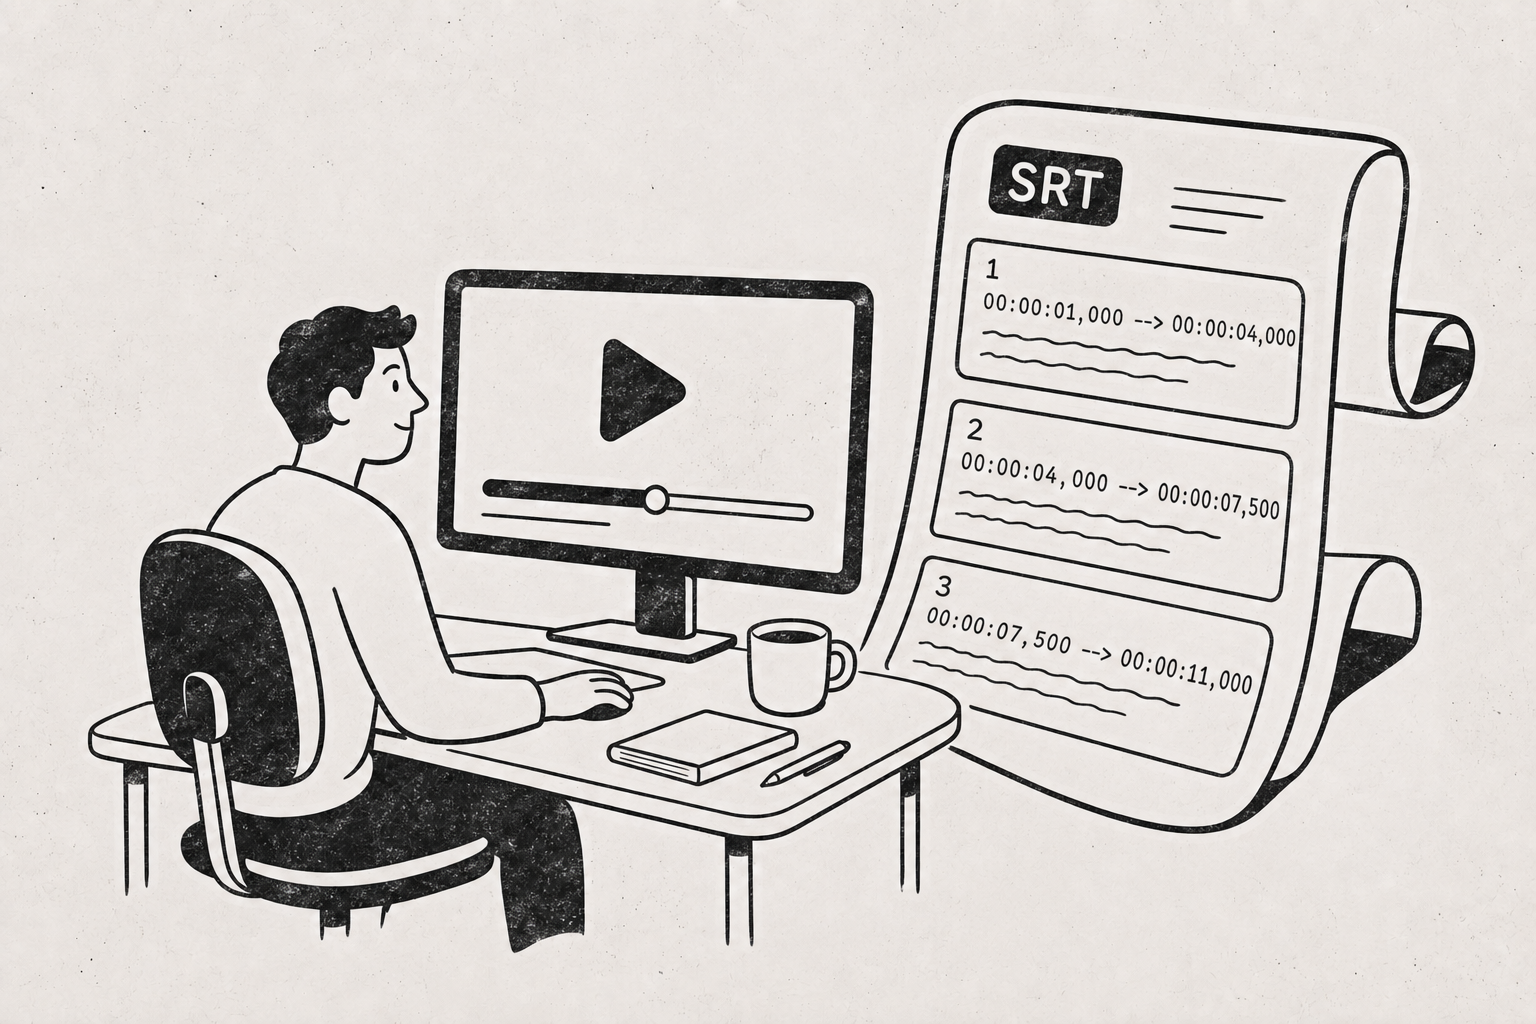
To create an SRT subtitle file from a video, transcribe the video first, correct the transcript, then export that transcript as SRT. The order matters: SRT is just a plain-text file containing numbered caption blocks with start and end timestamps, so every word in it comes from the transcript that produced it. Upload your MP4, MOV, or MKV to a transcription tool, wait for the timed transcript, fix any misspelled names, product terms, or acronyms directly in the transcript, then export to SRT. The exported file inherits your corrections — there’s no separate “caption editor” step. VTT (WebVTT) is the same idea with a slightly different syntax: it starts with a WEBVTT header, uses periods instead of commas in timestamps, and supports styling and positioning that SRT doesn’t. Use SRT for YouTube, Vimeo, and most social platforms; use VTT for HTML5 <video> elements and web players, and for learning management systems like Canvas or Moodle that expect WebVTT. Most tools, including Listently, export both from the same transcript, so you rarely have to choose permanently.
SRT and VTT are both plain text — the difference is header, punctuation, and styling
Open either file in a text editor and you’ll see the same structure: a caption block, a timecode range, the text, a blank line, repeat.
An SRT cue looks like this:
1
00:00:04,120 --> 00:00:07,480
We shipped the beta on Tuesday.
The same cue in VTT:
WEBVTT

00:00:04.120 --> 00:00:07.480
We shipped the beta on Tuesday.
The practical differences: SRT numbers each cue and separates milliseconds with a comma; VTT requires a WEBVTT header line, uses a period for milliseconds, makes cue numbering optional, and allows positioning, styling, and cue metadata.
| SRT | VTT | |
|---|---|---|
| File extension | .srt |
.vtt |
| Header line | None | WEBVTT required |
| Timestamp separator | Comma (00:00:04,120) |
Period (00:00:04.120) |
| Cue numbering | Standard | Optional |
| Styling / positioning | No | Yes (CSS-like) |
Native HTML5 <track> support |
No | Yes |
| Age / ubiquity | Older, near-universal | Newer, web-oriented |
For plain dialogue captions, the two files carry identical information. The choice is about what’s going to read the file, not about caption quality.
Use SRT for YouTube and Vimeo, VTT for HTML5 players and LMSs
Here’s where each format actually lands in practice:
- YouTube — accepts SRT, VTT, and several others. SRT is the safest default. Upload under Subtitles in YouTube Studio rather than relying on auto-captions, which you don’t control and can’t spell-check before publication.
- Vimeo — accepts SRT, VTT, and a few legacy formats. Either works.
- HTML5
<video>on your own site — VTT only. The<track kind="captions" src="captions.vtt">element does not accept SRT. This trips people up more than anything else on this list. - LMS platforms (Canvas, Moodle, Blackboard) — generally expect VTT for embedded video players, since they’re built on HTML5 video. Check the specific player, but VTT is the right first guess.
- LinkedIn — SRT.
- Desktop players (VLC, mpv, Plex) — both, though SRT is more universally recognized. Drop the
.srtnext to the video file with a matching filename and most players pick it up automatically. - Editing software (Premiere, DaVinci Resolve, Final Cut) — both, imported as a caption track you can then restyle and burn in.
If you only want to keep one file, keep the SRT — it’s more widely accepted, and converting SRT to VTT later is a mechanical change to the header and timestamp punctuation. Exporting both at the time of transcription is simpler than converting later.
The five-step process, start to finish
- Upload the video file directly. You don’t need to extract audio first. Most transcription tools take video containers as-is — Listently accepts MP4, MOV, and MKV alongside audio formats like MP3, WAV, M4A, FLAC, and OGG. Extracting audio with a separate tool just adds a step and a quality-loss opportunity.
- Let it transcribe. You’ll get back a timed, speaker-labeled transcript. Timing is what makes subtitle export possible at all — a transcript without timecodes can’t become an SRT without manual sync work, which is miserable.
- Read the transcript and fix errors. This is the step people skip and then regret. Details in the next section.
- Rename speakers if the captions need them. Interviews, panels, and multi-speaker explainers often benefit from speaker labels in the captions. In Listently, renaming a detected speaker applies everywhere the name appears, including the AI summary — so you fix “Speaker 2” once, not forty times.
- Export as SRT, VTT, or both. Listently exports SRT and VTT (as well as Word and PDF for the full transcript). Upload the subtitle file to whichever platform hosts the video.
Total hands-on time for a 20-minute video is usually the review pass, not the transcription — the machine part runs in minutes while you do something else.
Fixing the transcript before export is the only sane way to fix captions
A subtitle file is a derivative of a transcript. If you correct captions at the platform level — inside YouTube Studio’s caption editor, say — you’ve fixed one copy on one platform. Re-upload the video somewhere else and the errors are back.
Correcting the transcript first means every downstream artifact is right: the SRT, the VTT, the Word export, the blog post you cut from it, the AI summary.
The errors worth hunting for before you export:
- Proper nouns. People’s names, company names, product names. These are the errors viewers notice instantly and the ones that look worst on a public video.
- Acronyms and jargon. Domain-specific terms are where general-purpose models guess. “SOC 2” becomes “sock two” often enough to be a running joke.
- Numbers and units. Verify prices, dates, and version numbers against what was actually said.
- Homophone pairs in context. “Their/there,” “affect/effect,” “principal/principle.” Cheap to fix, embarrassing to leave.
If the same names and terms come up across a whole video series, save them once. Listently’s custom vocabulary holds 15 terms on Free and 50 on Pro, and future transcripts spell them correctly automatically — which turns a recurring correction into a one-time setup. Cleaner input helps too; our notes on improving transcription accuracy before you record cover the microphone and room-side variables that determine how much correcting you’ll do at all.
Speaker labels in captions: use them when the voices aren’t obvious
For a single-narrator tutorial, speaker labels in captions are clutter. For a two-person interview where both speakers are off-camera or the framing is a wide shot, they’re genuinely useful for accessibility.
Decide before export, not after — stripping labels out of an SRT by hand across 300 cues is tedious. If you’re captioning multi-voice content regularly, the rules for multi-speaker transcription accuracy apply here too: overlapping speech and crosstalk are where speaker attribution degrades, and captions expose that publicly.
One note on recording other people
If the video is an interview, a recorded call, or a meeting you’re planning to publish with captions, recording-consent rules vary by jurisdiction — some places require all parties to consent, others only one. Confirm what applies where you and your participants are before you hit record, not after you’ve cut the captions.
What to check in the exported file before you upload it
Open the SRT in a plain text editor — not Word, which will try to add formatting — and scan for these:
- Encoding is UTF-8. Non-ASCII characters (accented names, em dashes, non-Latin scripts) render as garbage otherwise. This matters more the more languages you work in; Listently transcribes in over 100 languages, and multilingual subtitle files are exactly where encoding problems surface.
- No cue runs longer than about 7 seconds or shorter than about 1 second. Long cues mean walls of text; very short ones flash past unreadably.
- Line length is reasonable. Two lines of roughly 42 characters each is the broadcast convention and a good target.
- Timestamps increase monotonically. Overlapping or out-of-order cues break some players outright.
- The last cue ends before the video does. Rare, but it happens after edits.
Most exports are fine as-is; the check takes two minutes and prevents the failure mode where you upload captions and only notice they’re broken after someone tells you.
Common questions
Can I make an SRT without transcribing first? Not practically. An SRT requires timecoded text, so either a machine generates the timing during transcription, or you type it and sync it manually in a subtitle editor. For anything longer than a minute or two, transcribing first is faster by a wide margin.
Does YouTube’s auto-caption do the same thing? It produces captions, but you can’t correct them before they go live, you can’t apply a custom vocabulary, and you don’t get a portable file for other platforms. Transcribing separately gives you a corrected source file you own and can reuse.
Can I convert an SRT to VTT myself?
Yes — add a WEBVTT line and a blank line at the top, and replace the comma before the milliseconds with a period in every timestamp. It’s a find-and-replace. Exporting both formats up front is still less error-prone.
How long does transcribing a video take? Minutes, not real-time playback. The variable is your review pass, which scales with how much specialized vocabulary the video contains.
Try it on your next video
Upload the video file, correct the names and terms in the transcript, export SRT and VTT from the same source. The free plan covers 3 transcriptions a day at up to 40 minutes per file, which is enough to caption most single videos — start with a file at app.listently.com and see what the export looks like before you commit to anything.