September 23, 2026 · By The Listently Team
How to Transcribe a Zoom Recording (Step-by-Step)
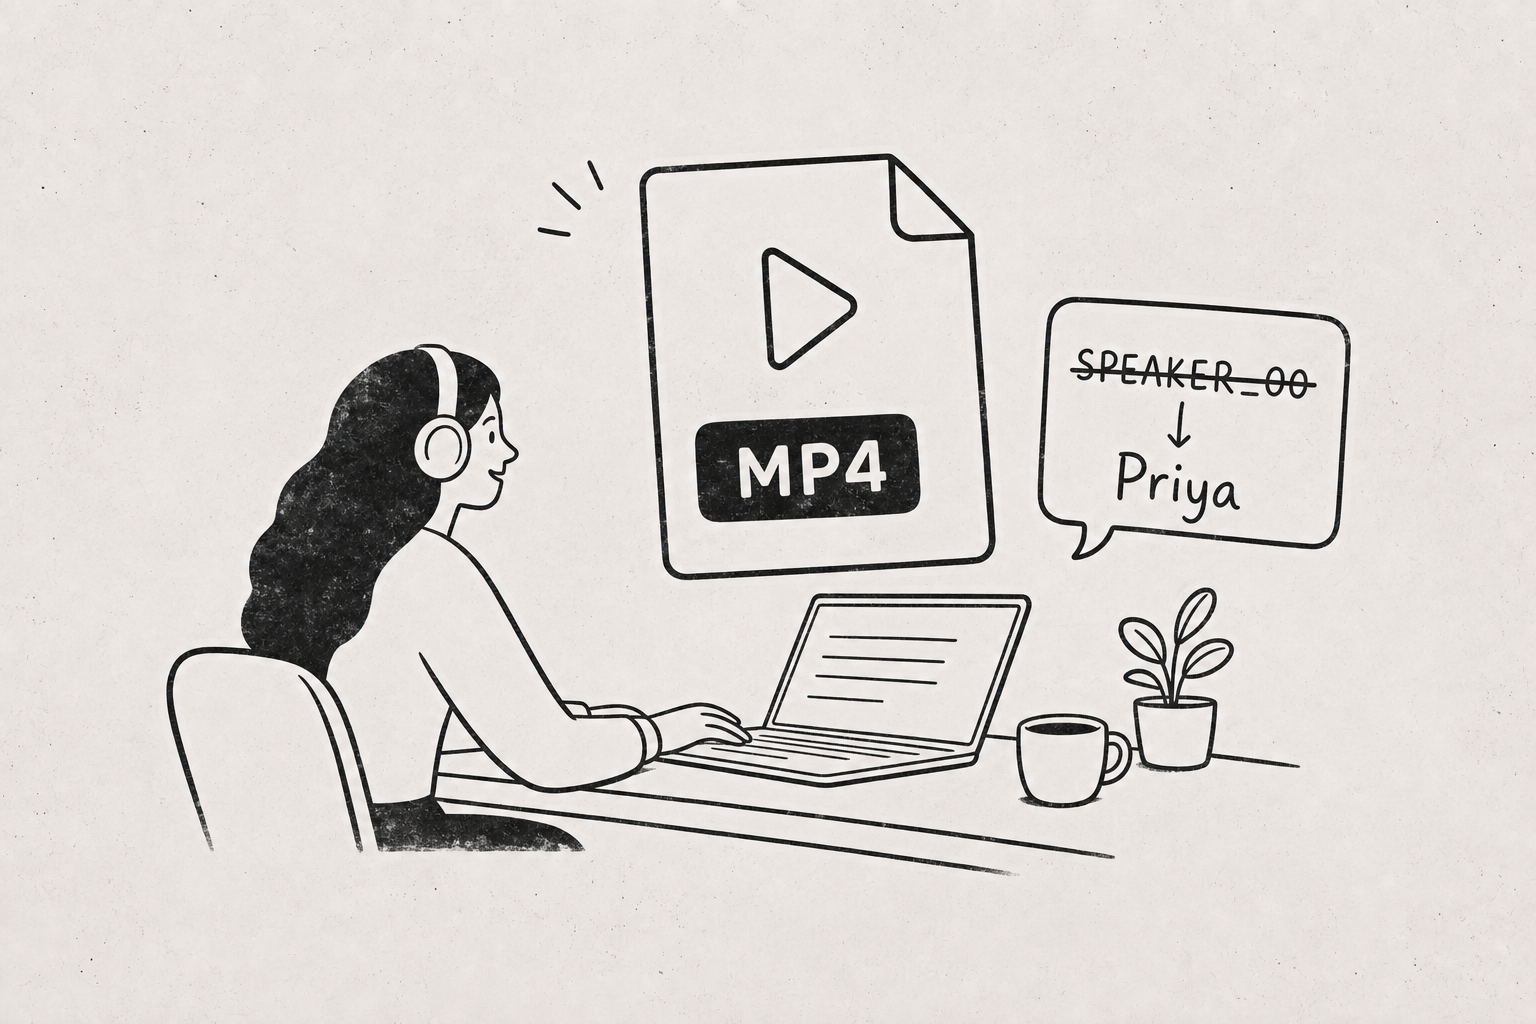
To transcribe a Zoom recording, find the saved file first, then upload it to a transcription tool — no integration or plugin required. Zoom’s local recordings live in your Documents/Zoom folder in a subfolder named after the meeting date and title, containing zoom_0.mp4 (video plus audio) and sometimes audio_only.m4a. Cloud recordings are downloaded from the Recordings page on zoom.us. Microsoft Teams recordings save to the organizer’s OneDrive (or SharePoint for channel meetings), and Google Meet recordings save to a “Meet Recordings” folder in the organizer’s Google Drive. Both are MP4 files you download with a single button. Upload whichever file you have to a transcription service — the MP4 works, you don’t need to extract the audio yourself. Automatic speaker detection will split the conversation into separate voices, but it labels them generically as SPEAKER_00, SPEAKER_01, and so on, because it has no way of knowing who is who. Listen to the first ten seconds of each speaker’s earliest line, rename the labels to real names, then export to Word, PDF, or SRT. The whole process takes a few minutes for a typical hour-long meeting.
Zoom saves local recordings to Documents/Zoom as zoom_0.mp4
If you recorded to your computer rather than the cloud, Zoom writes the files to a dated folder inside your Documents directory:
- macOS:
~/Documents/Zoom/2026-09-23 10.00.00 Weekly Sync/ - Windows:
C:\Users\<yourname>\Documents\Zoom\2026-09-23 10.00.00 Weekly Sync\
Inside that folder you’ll typically see zoom_0.mp4, a playback.m3u file, and — if you enabled “Record a separate audio file” in settings — an audio_only.m4a. Either zoom_0.mp4 or audio_only.m4a will transcribe fine; the M4A is smaller, so use it if you have it and don’t need the video.
One thing that trips people up: Zoom only finishes converting the recording after you leave the meeting and let the app run its conversion step. If you quit Zoom mid-conversion, the folder may contain a .zoom double-recording file instead of a playable MP4. Reopen Zoom and it will usually offer to convert it.
For cloud recordings, go to zoom.us, open Recordings, pick the meeting, and use the download option. You’ll get an MP4 and often a separate M4A audio track.
Teams recordings live in OneDrive, not on your desktop
Teams stopped writing recordings to local disk. For a standard scheduled or ad-hoc meeting, the recording goes to the Recordings folder in the OneDrive of whoever hit record. For a channel meeting, it lands in that channel’s SharePoint document library under Recordings.
The fastest route is usually through the chat: open the meeting’s chat thread, find the recording card, click through to the file, then use Download. You’ll get an MP4.
If you’re a participant rather than the organizer, you may only have view access — you’ll need download permission from the person who recorded before you can transcribe the file yourself. That’s a permissions question, not a technical one, and it’s worth sorting out before the meeting rather than after.
Google Meet recordings land in a “Meet Recordings” Drive folder
Google Meet saves recordings to the organizer’s Google Drive, in My Drive › Meet Recordings, as an MP4. The organizer also gets an email with a direct link once processing finishes, which can take longer than the meeting itself for long calls.
You can download the MP4 and upload it like any other file. You can also skip the download entirely: Listently’s Pro plan accepts a pasted Google Drive share link and fetches the file directly, which matters more than it sounds like when the recording is a 3 GB MP4 of a two-hour workshop. We wrote up that workflow in detail in transcribing from a Google Drive link.
Upload the MP4 directly — don’t bother converting it first
A common instinct is to extract the audio track before uploading, on the theory that a transcription tool only wants audio. That step is unnecessary for most tools, and it’s unnecessary here: Listently accepts MP4, MOV, and MKV alongside MP3, WAV, M4A, FLAC, and OGG.
Skip conversion unless you’re hitting an upload size limit — then use the audio-only file instead of re-encoding the video.
Here’s the actual sequence:
- Locate the recording file using the platform-specific paths above.
- Upload it (or paste the Drive link, on Pro).
- Wait a few minutes while the transcript and AI summary generate.
- Rename the speaker labels to real names.
- Fix any misspelled names or jargon in the transcript.
- Export to Word, PDF, or SRT/VTT.
Two limits worth knowing before you start: the free plan caps files at 40 minutes and allows 3 transcriptions per day, which is fine for standups and short client calls but not for a 90-minute all-hands. Pro removes the file-length limit, allows unlimited transcriptions, raises uploads to 5 GB, and lets you drop up to 10 files at once — useful if you’re working through a backlog of recorded interviews. If you’re unsure which you need, our free vs Pro breakdown covers where the wall actually is.
Speaker detection gives you SPEAKER_00, not names
Automatic speaker detection works by clustering voices — it identifies that there are, say, four distinct speakers and attributes each segment of speech to one of them. What it cannot do is know their names. No transcription tool can infer “that’s Priya” from audio alone unless someone says her name out loud, and even then it won’t apply it to the label.
So the raw transcript looks like this:
SPEAKER_00: Okay, let's start with the Q3 numbers.
SPEAKER_01: I can take that. Revenue came in about four percent under.
SPEAKER_02: Under against forecast or against last quarter?
Expect accurate separation of voices and generic labels — identifying who is who is a 60-second manual step, not a bug.
A few things affect how clean the separation is. Zoom, Teams, and Meet recordings all mix every participant into one audio track, so speaker detection has to work from voice characteristics alone. That works well when people take turns and have distinct voices. It gets harder with heavy crosstalk, two participants sharing one laptop mic in a conference room, or a speaker who joins by phone with poor line quality. Our rules for multi-speaker accuracy go deeper on the recording-side habits that help.
Rename SPEAKER_00 to real names before you export
Do this before exporting, not after — otherwise you’re doing find-and-replace in Word.
The efficient method: scroll to each label’s first line in the transcript, not a random one. Opening lines are usually self-identifying (“Thanks everyone, I’ll run through the agenda” is almost always the organizer), and if you’re stuck, play the audio at that timestamp for a few seconds. Four speakers takes under a minute.
In Listently, renaming a speaker applies the new name everywhere in the document, including the AI summary — so the summary reads “Priya flagged the vendor delay” rather than “SPEAKER_02 flagged the vendor delay.” Rename first, and the summary becomes something you can paste into a follow-up email without editing. We’ve written about why speaker-attributed summaries hold up better than generic ones in what teams get wrong about AI meeting summaries.
While you’re in there, fix recurring misspellings. Product names, client names, and internal acronyms are the usual offenders. Saving them as custom vocabulary means the next recording spells them correctly without your intervention — 15 terms on Free, 50 on Pro.
Export to Word for notes, SRT for subtitles
What you export depends on where the transcript is going:
| Use | Format |
|---|---|
| Meeting notes, circulated write-ups, further editing | Word |
| Read-only archive, sharing with clients | |
| Captions for a recording you’re reposting internally | SRT/VTT |
SRT and VTT carry timestamps, so they’ll sync to the original MP4 if you’re publishing the recording for people who missed the meeting. The step-by-step SRT guide covers that end of it.
If what you actually want is a short summary rather than a full verbatim record, the transcript is still the right starting point — but it’s worth being deliberate about the difference, which we covered in meeting notes vs transcripts.
Recording consent rules vary by jurisdiction
Zoom, Teams, and Meet all announce when recording starts, which covers notification but not necessarily legal consent. Some jurisdictions require all-party consent; others require only one party. Rules also differ for internal meetings versus calls with external parties, and your employer may have its own policy on top of the law. Check what applies where you and your participants are located before you record, and ask explicitly if there’s any doubt.
On the storage side: Listently deletes uploaded audio immediately after processing, and neither audio nor transcripts are used to train any AI model or shared with third parties. If that’s a question your legal team is asking, we answered it in more detail here.
Common questions
Do I need the MP4, or is the M4A enough? The M4A is enough for a transcript. Use the MP4 only if you also want subtitles synced to the video, or if you never enabled separate audio recording.
Why does my transcript have five speakers when only three people were in the meeting? Over-splitting usually means one speaker’s audio changed mid-call — they switched from headset to laptop mic, or their connection degraded. Merge them by renaming both labels to the same person’s name.
Can I transcribe a meeting recorded in another language? Yes. Over 100 languages are supported, and the upload process is identical.
How long does an hour-long recording take? Minutes, not hours. Upload time depends more on your connection and the file size than on the transcription itself, which is another reason the audio-only file is handy.
Upload a Zoom, Teams, or Meet recording and see the speaker-labeled result — try Listently free.