September 14, 2026 · By The Listently Team
How to Reduce Background Noise Recording: 7 Fixes
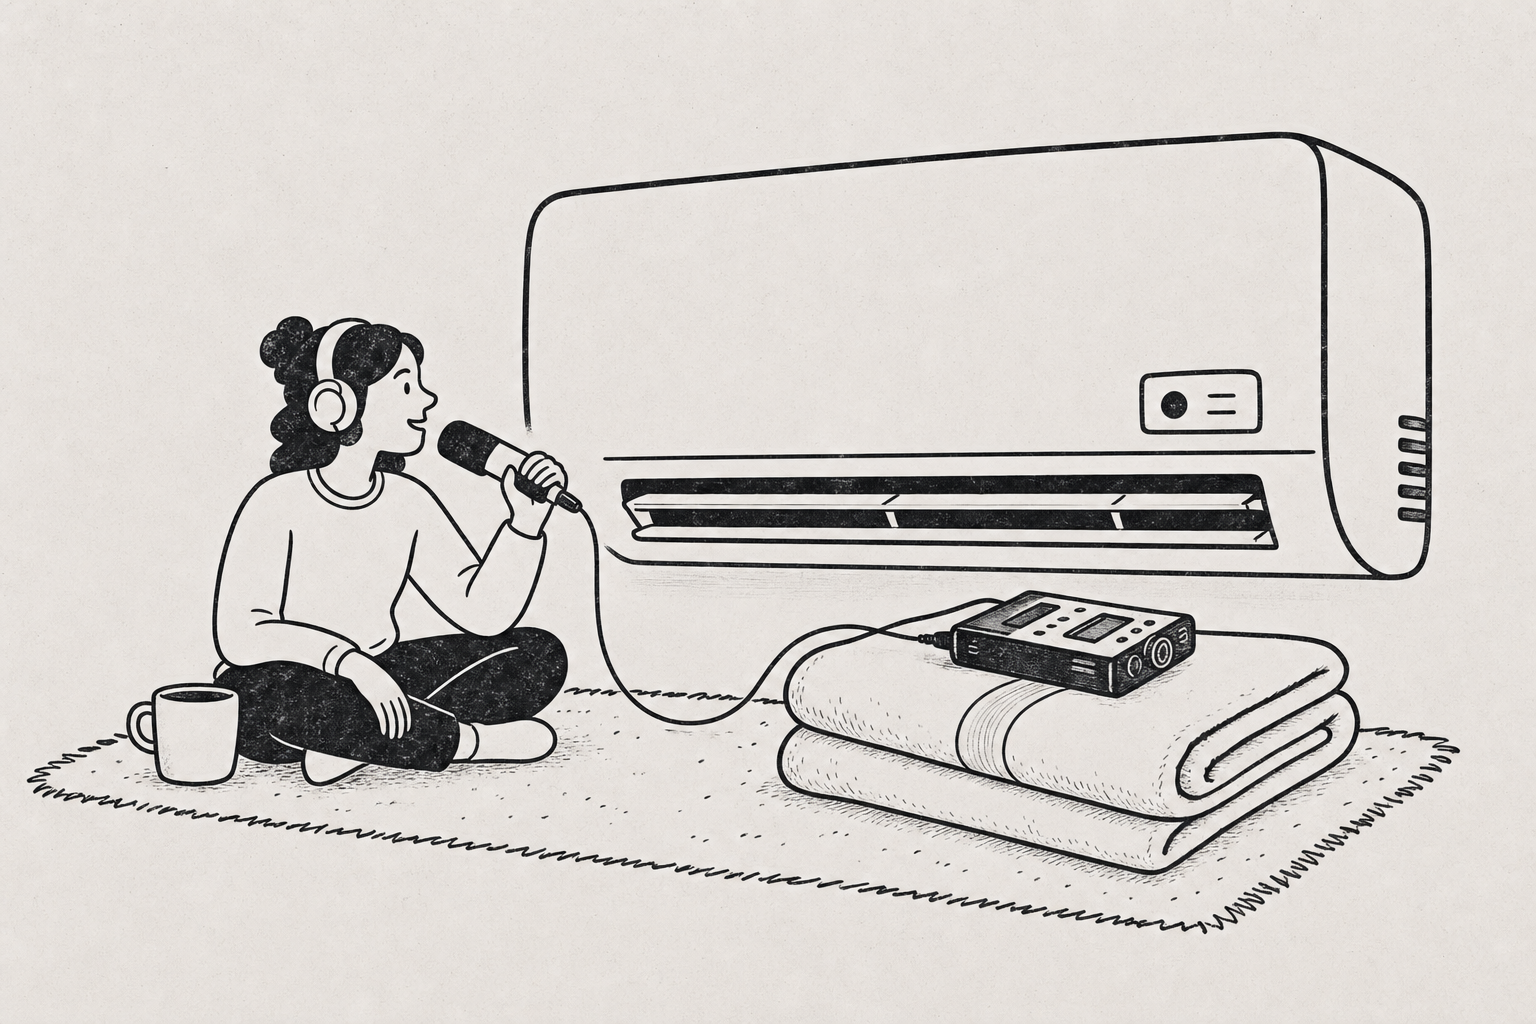
The fastest way to reduce background noise when recording a conversation is to move the microphone closer to the speaker’s mouth — 6 to 12 inches — because every doubling of distance drops the voice level roughly 6 dB while the room noise stays where it is. After that, the order of impact is: pick a small room with carpet, curtains, or a sofa rather than a large hard-surfaced one; turn off HVAC, fans, fridges, and anything with a compressor before you hit record; close windows facing traffic; and put a soft object like a folded towel or jacket on the table under the mic to stop surface reflections and bumps. A $30 microphone 8 inches away will beat a $300 microphone 3 feet away in a bad room, every time. Record 30 seconds first, listen on headphones, and fix what you hear before the real conversation starts. Constant hums and hiss can be reduced afterward with a noise-reduction filter; echo and reverb essentially cannot, which is why room choice is the decision you can’t undo later.
Mic distance is the single biggest lever you have
Sound follows the inverse-square law: the level of a source drops about 6 dB each time you double the distance from it. Your voice obeys this. The air conditioner across the room does not change at all when you move the mic closer to the speaker — it’s already diffuse and roughly even throughout the space.
That means closing the gap between mouth and mic improves your signal-to-noise ratio directly. Moving a microphone from 24 inches to 6 inches away gains roughly 12 dB of voice over the room — a bigger improvement than almost any gear upgrade you could buy.
Practical distances that work:
- Lavalier/clip-on mic: clipped to the collar or lapel, about 6-8 inches below the chin, slightly off-center so breath doesn’t hit it directly.
- Handheld or dynamic mic on a stand: 4-8 inches, angled slightly off-axis from the mouth to avoid plosives.
- Phone recording on a table: 8-12 inches from each speaker, which in practice means putting it between them, not in front of one.
- Laptop built-in mic: the worst option, because you can’t move it independently of the screen. If it’s what you have, sit closer to the laptop than feels natural.
The one tradeoff: too close and you get plosive pops on P and B sounds, plus proximity boom on some mics. Angle the capsule about 15-30 degrees off the direct line of the mouth and that mostly goes away.
A small carpeted room beats a large hard-surfaced one
Hard parallel surfaces — bare walls, glass, tile, long conference tables — reflect sound back at the mic a few milliseconds after the direct voice arrives. That smear is reverb, and it’s the thing that makes recordings sound “far away” and “hollow” even when the volume is fine.
Soft, irregular surfaces absorb high and mid frequencies instead of bouncing them. You are not looking for silence; you are looking for a room where a hand clap dies instantly instead of ringing.
| Room type | Typical result | Worth using? |
|---|---|---|
| Small carpeted office with curtains and a sofa | Tight, dry, close-sounding voices | Best realistic option |
| Bedroom with bed, rugs, hanging clothes | Very dry, excellent | Best option overall |
| Kitchen or bathroom (tile, glass, hard cabinets) | Heavy echo, unusable for interviews | Avoid |
| Large glass-walled conference room | Reverb plus HVAC, voices sound distant | Avoid unless mics are close |
| Café or open-plan office | Speech babble in the background, hard to remove | Avoid for anything important |
If the only room available is a bad one, shrink it: record in a corner, pull a curtain across, sit closer together, and get the mic closer still. Distance to the mic partly compensates for a bad room because the direct sound arrives much louder than the reflections.
Kill HVAC, fridges, and fans before you press record
Continuous mechanical noise is easy to ignore in person and impossible to ignore on playback. Your ears filter it out in the room; a microphone does not.
Run through this list before the conversation starts:
- Turn off air conditioning, heating, and ceiling fans. A 30-minute conversation in a cool room is fine; reheating is a smaller problem than a permanent hum under every word.
- Unplug or silence the fridge, air purifier, and space heater if you’re near one.
- Close windows and doors facing the street. Traffic noise is broadband and moves — the worst combination for noise reduction software.
- Silence phones fully, including vibrate. A phone vibrating on a wooden table is louder in the recording than in the room.
- Move laptops away from the mic. Fan noise and keyboard clicks are recorded much more clearly than people expect.
- Take off jangly jewelry and anything that rubs a lav mic, especially scarves and zip pulls.
- Ask the other person to avoid tapping, swiveling, or leaning on the table. Table-borne noise transmits straight into the mic body.
Steady hums and hisses that were present for the whole take are the easiest kind of noise to reduce afterward — but they also cost you nothing to prevent, so prevent them.
Soft furnishings and a folded towel beat expensive foam
The cheap fixes that actually move the needle are unglamorous:
- A folded towel, jacket, or mouse pad under the mic or recorder. Decouples it from the table so knocks, taps, and laptop vibration stop reaching the capsule.
- A blanket or duvet draped over a nearby hard wall, or a rack of clothes. Absorbs first reflections cheaply. Thick and soft matters more than branded.
- A cheap foam windscreen or pop filter. A few dollars, and it removes plosives and stray breath that no software fixes cleanly.
- Headphones while you set up. The single most useful purchase. You cannot fix what you can’t hear, and speakers won’t reveal room noise the way closed-back headphones will.
Thin acoustic foam panels sold for “soundproofing” mostly treat high frequencies and do very little for low-end rumble or for actual sound isolation from outside. A duvet and a carpeted room will outperform a handful of foam tiles for conversational speech.
Do a 30-second test and listen on headphones
Record 30 seconds of both people talking normally at the same seating positions and mic distance you’ll use for the real conversation. Then listen back on headphones before starting.
You’re listening for four things specifically: a hum or hiss under the voices, echo on the ends of words, one person noticeably quieter than the other, and clipping or distortion on louder moments. Each has a fix — kill the appliance, add soft material or move closer, rebalance seating or mic placement, lower the input gain.
The test recording costs one minute and catches the mistakes that cost you a whole transcript. This is also where you notice that the mic was pointed at the wrong person, which is far more common than it sounds.
Noise reduction software fixes hum, not echo or crosstalk
There’s a real limit to post-processing. Constant broadband noise — fan hum, hiss, air conditioning — can be reduced with a noise profile filter in Audacity, Adobe Podcast’s enhance tool, or similar, because the noise is predictable and the software can model it.
Reverb is different. The reflections are the same voice arriving late, so removing them means removing pieces of the speech itself. The same is true of crosstalk in a café: background speech shares every acoustic characteristic with foreground speech.
This matters for transcription specifically, because accuracy and speaker separation both degrade in reverberant, noisy recordings — clean audio at the source is the only reliable fix. Tools like Listently transcribe with automatic speaker labels and an AI summary, but no tool can separate two people reliably if the mic heard both of them as a distant echo. If transcription is your goal, our list of 9 ways to improve transcription accuracy before you record covers the non-acoustic half of the setup.
Get consent before you record anyone
Recording-consent rules vary by jurisdiction — some places require only one party to consent, others require everyone in the conversation to agree, and workplace and research settings often have their own additional requirements. Check what applies where you and the other participants are located.
In practice, saying “I’m recording this so I can transcribe it later — is that okay?” at the start solves both the legal question and the awkwardness, and it puts the confirmation on the recording itself. If you’re conducting a structured conversation, our step-by-step guide to interviewing someone covers how to open a session cleanly.
Common questions
Does a more expensive microphone reduce background noise? Not much on its own. Directional pattern helps — a cardioid mic rejects sound from behind it — but a cheap mic 6 inches away captures far less room noise than an expensive mic 3 feet away. Spend on placement and room first.
Is a lavalier mic better than a recorder on the table? Usually yes, because it stays at a fixed short distance from the mouth regardless of how the speaker moves. A table recorder is fine in a quiet, soft room with people sitting close.
Can I just fix a noisy recording afterward? Partly. Steady hum and hiss respond well to noise reduction. Echo, room reverb, and other people’s speech in the background do not, and aggressive filtering makes voices sound underwater — which hurts transcription more than the original noise did.
What’s the single best change if I only make one? Move the mic closer. It costs nothing and improves signal-to-noise more than any other single adjustment.
Once the recording itself is clean, upload it to Listently and get a speaker-labeled transcript free to see how much your setup actually improved.